最近購買了CPanel伺服器空間,Chatgpt的Linebot專案部署到Vercel時,當回覆較長會產生Timeout錯誤的問題,因此將其部署到CPanel來解決此問題。
建立Python應用程式
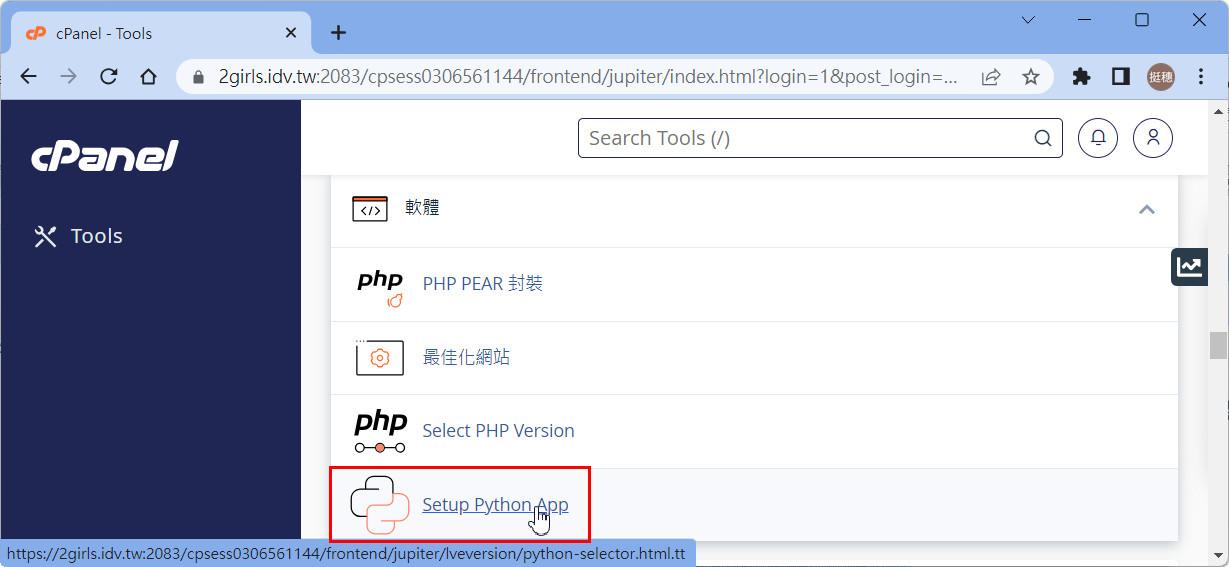
登入CPanel,點選「Setup Python App」。
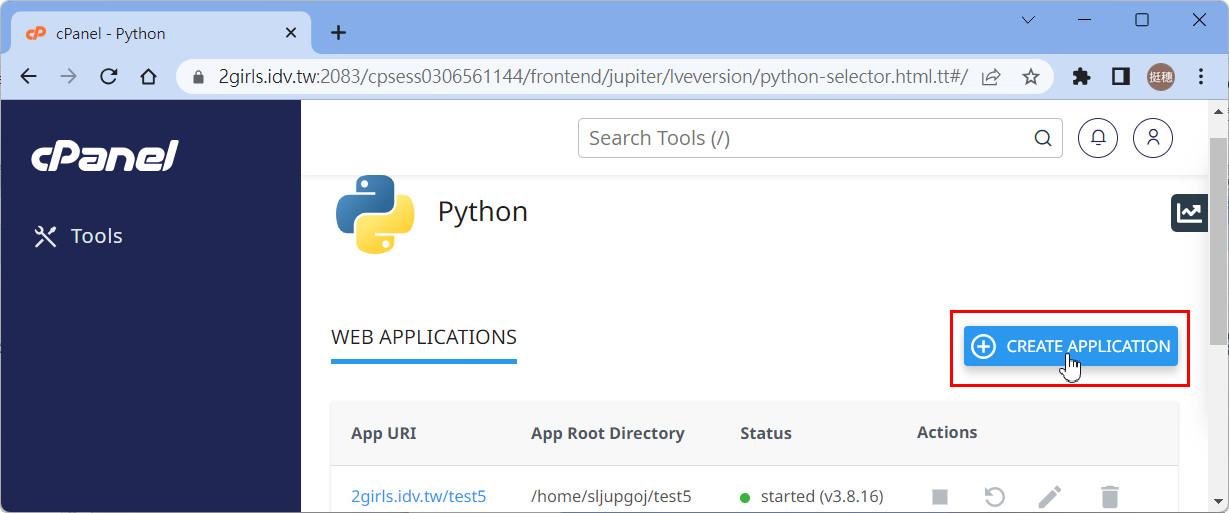
按「CREATE APPLICATION」鈕建立應用程式。
Python version選擇最新的版本(此處為3.9.16),Application root輸入Cpanel中的資料夾名稱(此處為chatgptbot),Application URL輸入應用程式網址(通常會與Application root相同,方便辨識),Application startup file輸入「passenger-wsgi.py」,此檔案會自動產生,Application Entry point輸入「application」,按「CREATE」鈕建立應用程式。

建立Flask程式
在本機建立< chatgptbot>資料夾,內含主程式< app.py>,內容為:
from flask import Flask
app = Flask(__name__)
from flask import request, abort
from linebot import LineBotApi, WebhookHandler
from linebot.exceptions import InvalidSignatureError
from linebot.models import MessageEvent, TextMessage, TextSendMessage
import openai
openai.api_key = '你的OPENAI API Key'
line_bot_api = LineBotApi('你的Channel access token')
handler1 = WebhookHandler('你的Channel secret')
@app.route('/callback', methods=['POST'])
def callback():
signature = request.headers['X-Line-Signature']
body = request.get_data(as_text=True)
try:
handler1.handle(body, signature)
except InvalidSignatureError:
abort(400)
return 'OK'
@handler1.add(MessageEvent, message=TextMessage)
def handle_message(event):
text1=event.message.text
response = openai.ChatCompletion.create(
messages=[
{"role": "user", "content": text1}
],
model="gpt-3.5-turbo",
temperature = 0.5,
)
try:
ret = response['choices'][0]['message']['content'].strip()
except:
ret = '發生錯誤!'
line_bot_api.reply_message(event.reply_token,TextSendMessage(text=ret))
if __name__ == '__main__':
app.run()
及安裝模組檔<requirements.txt>,內容為:
Flask
line-bot-sdk
openai
部署應用程式
點選左方「Tools」,再點選「檔案管理員」。

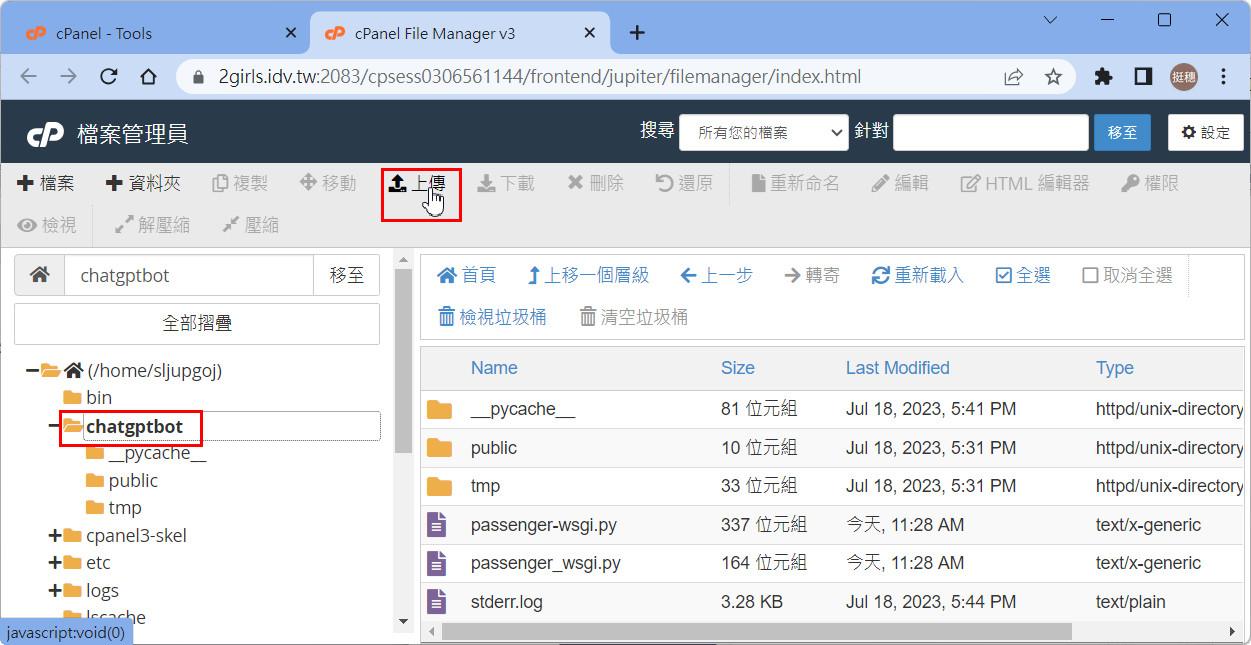
在 CPanel 檔案管理員可見到系統已建立<chatgptbot> 資料夾,點選 <chatgptbot> 資料夾,按「上傳」鈕。
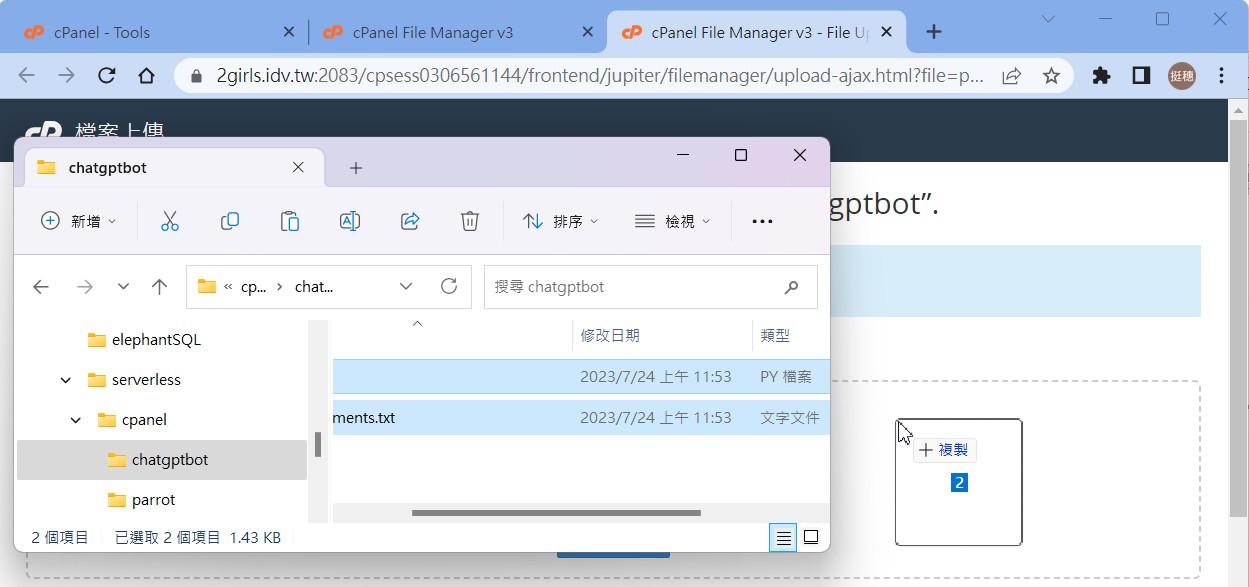
開啟本機檔案總管,選取<app.py>及<requirements.txt>檔拖曳到Cpanel的上傳區塊中,就可將兩個檔案上傳。
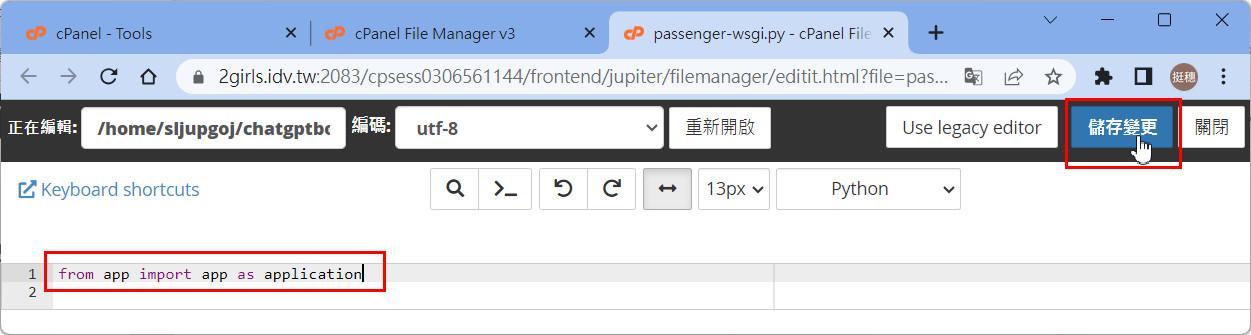
修改<passenger-wsgi.py>檔:點選<passenger-wsgi.py>檔,按「編輯」鈕後再按「Edit」鈕。

刪除原有內容,輸入「from app import app as application」後按「儲存變更」鈕完成設定。
回到Cpanel,點選「Setup Python App」,點選2girls.idv.tw/chatgptbot右方的「編輯」鈕。

在「Run Pip Install」鈕下方輸入「requirements.txt」後按「Add」鈕。
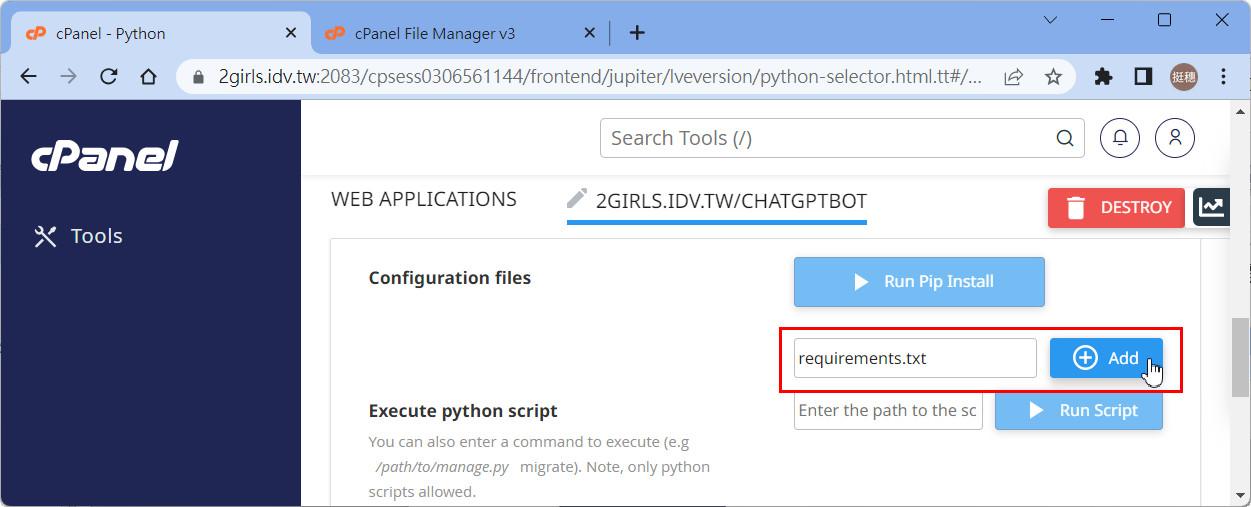
點選「Run Pip Install」鈕後選擇<requirements.txt>檔就會開始安裝模組。

安裝模組需要一段時間,等顯示安裝完成訊息後按「SAVE」鈕儲存,再按「RESTART」鈕重新啟動應用程式。

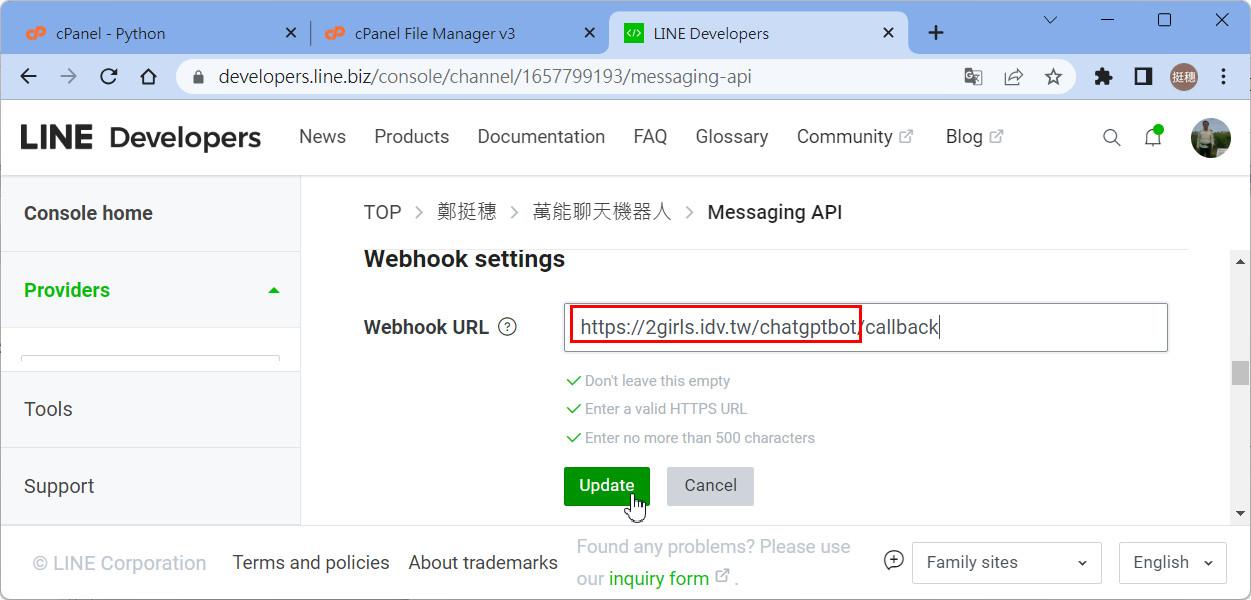
到LINE Bot Developer修改「Webhook URL」的值為App網址(此處為2girls.idv.tw/chatgptbot),此後就可隨時使用這個Chatgpt的 LINE Bot 了!
沒有留言:
張貼留言